After hunkering down for a while you might find yourself buried alive under the amount of low voltage networking information.
While crawling and running in the trench you'll bump into fellow soldiers cat5e, fiber optic cable, security cameras. You'll also find tutorials, tips, installation aids and all kinds of cool networking stuff!
The commander and chief is Discount-Low-Voltage.com
Cat6a keystone jacks and cat6a cabling are not much different than regular cat6 products, but do require a little extra attention to detail. The individual pairs in cat6a cable are twisted much tighter, and need to remain that way all the way up to the termination point. If the pairs are untwisted, you may not get your cable to pass the certification tester. In today's blog, we'll take you step-by-step through the process of terminating cat6a keystone jacks, using cat6a cabling. To get started, let's make sure you have the necessary tools:
Now that we have all the right tools, let's terminate some cat6a jacks.
Step 1) Strip off about 2-3 inches of the cable jacket
Step 2) Pull the 4 pairs of cable back, and remove the center divider (spline)
Step 3) Each Cat6a jack has the 568a and 568b wiring diagram chart on it. We will be using the most commonly used, 568b wiring diagram.
Step 4) Lace up all 4 pairs of cable on the cat6a jack, remembering to follow the 568b diagram
Step 5) Punch down wires onto keystone jack using the punch down tool and 110 blade. Make sure the side that says "Cut" on the 110 blade is pointing towards the outside of the cat6a jack.
Step 6) Put the dust cap cover on the cat6a jack and your done! It can now be inserted into wall plates, surface mount boxes or keystone patch panels.
Watch the video: How to Terminate Cat6A Keystone Jacks
Check out the new product videos we did on Bulk Cat5e cable and Cat5e Shielded Cable. The cat5e cable comes in 1,000ft pull boxes and features the Reelex cone inside. These Reelex boxes reduce tangles while pulling cable, which increases your productivity. The shielded cat5e cable comes on a durable wooden spool. For more information on both products, click the links above or visit Discount-Low-Voltage.com.
Features:
- All-in-One Voice, Cat5E Data & 1GHz Video Wallplate
- Satin Finish
- Painted Combo Screws Included
- Flame Retardant UL 94V-0 Rated Plastic
Description:
Bring your voice, cat5e data and video together on one easy to install wall plate. These multimedia wall plates by Dynacom come ready to use, with 110 style connectors for your voice and data applications and an F-type connector for your video applications. Installation is easy, simply punch down your voice and data inserts using the color code shown on each connector, twist on your video connector and mount to the wall using the 2 included screws. Don't need the video connector? We also offer a Voice & Data only multimedia wall plate. To order these multimedia wall plates and many other items, visit our website at Discount-Low-Voltage.com
Please take a second and leave a comment below letting us know what your think of these wall plates. Thanks
In today's article, I'll explain How To Terminate Cat6A Shielded Keystone Jacks. Cat6A shielded keystone jacks may look intimidating, but they are no harder to terminate then your standard Cat6 keystone jack. There's a few more steps involved, but overall anyone can terminate these jacks. So let's take a look at some of the tools required:
Step 5: Cut the foil, leaving about 1/4" and wrap it around the cable. (Note: it will not completely wrap around the cable, this is normal). Then wrap the drain wire completely around the foil
Step 6: Pull back all 4 pairs of wires and cut off the center spline
Step 7: Run the wires up through the cap and lay the wires in the appropriate slots according to the 568B wiring diagram
Step 8: Trim the wires flush with the cap
Step 9: Insert the cap into the Cat6A keystone jack. Notice that the jack and the cap have arrows on them. Make sure they are both pointing the same direction.
Step 10: Close the jaw all the way until it clicks
Step 10a: If your having trouble closing the jaw, open it back up and push down on both sides of the cap. This will seat the wires. I just used a regular pair of scissors.
Step 10b: Now do the other side
Step 11: Push the shielding lug up against the cable
Step 11a: I got a much tighter seal by using pliers
Step 12: Install the included zip-tie to make sure nothing comes loose and your done. This is a completed Cat6A shielded keystone jack.
In the event that your Cat6A keystone jack isn't working properly, you will need to cut off the zip-tie, pull back the shielding lug and insert a small flat head screwdriver into the slot, twist and it will pop open. We hope this article covered everything you need to know about terminating Cat6A keystone jacks.
Still have questions about how to terminate cat6a keystone jacks? Give us a call at (888) 797-3697. Visit our website at Discount-Low-Voltage.com to order any of the items seen in this article.
The Kwik Jacks and Kwik Tool are the newest addition of keystone jacks to the Discount-Low-Voltage.com lineup. We first introduced them back in January of this year and have had nothing but great feedback for the Kwik Jacks. Today, Im going to show you step-by-step How To Terminate the Cat5e/Cat6 Kwik Jacks. I'll include photos and a video to help you along the way. Let's get started. Blog Updated 6-15-11: New Kwik Tool design
Now that we have the right tools, lets punch down some keystone jacks
First, strip back the jacket about 1-2". The Cat6 cable (bottom) is larger than the Cat5e cable because it has a center spline, which separates all 4 pairs of wires. This center spline helps reduce Alien Cross-talk.
Cut off the ripcord
Cut off the separator if you're using Cat6 cable
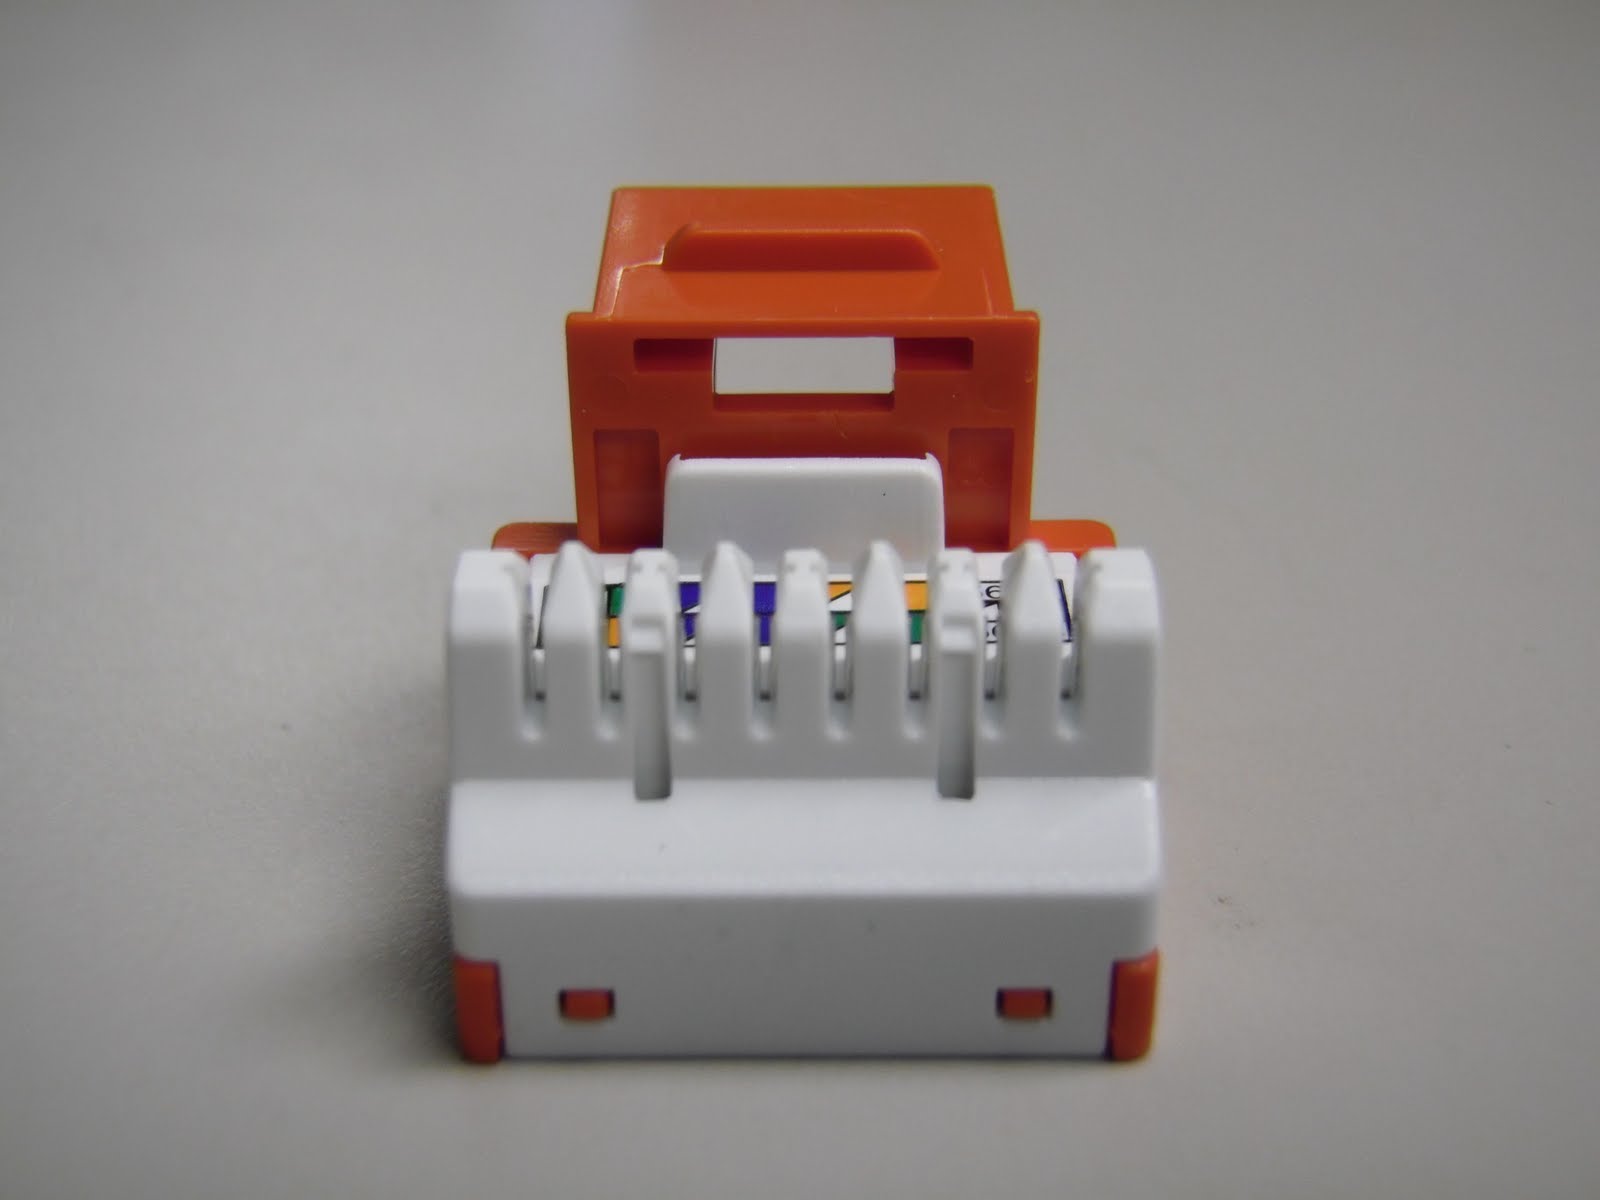
Now were ready to lace up the wires on your keystone jack. One the the nicest features of these jacks is the pointed 110s. This makes it much easier to lay the wires in, compared to the flat style some other keystone jacks have. Here's a close up view. You can also see it clearly shows the 568B and 568A color code on every jack.
Follow the color code on the side of the jacks. We suggest using 568B since it is the most common. Here is a picture of the 568B color code.
You can use your fingernail to seat the wires, or a utility knife. Make sure not to use the sharp side though, or you could cut through the wire jacket. Once all 4 pairs are laid down in the jack, it should look like this.
Make sure the jacket on your cable is as close to the keystone jack as possible. You don't want anymore than 1/2" of the wires exposed. Below is a picture of the WRONG WAY to do it.
Once the 4 pairs of wires are laced onto your Kwik Jack, slide the jack into the Kwik Tool
Updated 6-15-11: New Kwik Tool design
Here is what the Kwik Jack looks like inserted into the Kwik Tool
Once you have the Kwik Jack in the tool, simply squeeze down on the handle and release. This will punch down and cut all 4 pairs of wires. Remove the Kwik Jack from the tool. Here is a completed Cat5e/Cat6 Kwik Jack
Tip: You can also use a 110 punch tool to terminate the Kwik Jacks
Now, snap on the included dust cover and you're done.
Now let's watch Mercy demonstrate this process on video:
We hope our article on How To Terminate Cat5e/Cat6 Kwik Jacks Using the Kwik Tool was helpful. For more information, or to order any of these items, visit our website at Discount-Low-Voltage.com
How to punch down a Cat5e/Cat6 keystone jack, step-by-step instructions. I took a bunch of pictures along the way to better explain the process, and to let you see just what it should look like. If you want to see the process of punching down a Cat5e or Cat6 jack on video, scroll to the bottom of this post. To get started, let's take a look at what tools you will need:
Now that we have all the tools, let's punch down some keystone jacks.
First, strip off at least 1 inch of jacket on your Cat5e/Cat6 cable. Make sure not to cut into the wires. If you do, you'll need to start over. This picture shows what the two cables look like side by side. The Cat6 cable is larger (bottom) due to the separator between the pairs.
Cut off the ripcord
If you using Cat6 cable, it should have a separator. Cut that off as well. Simply pull the 4 pairs of wire back and cut it off
Now were ready to lace up the wires on the keystone jack. This style of jack is very user friendly and great for beginners or professional installers. You can see 110s are in a single row and that they are pointed, making it easier to lace the wires down
Let's go ahead and wire these keystone jacks following the 568b Wiring Diagram
You can see the keystone jack has the color code for 568A and 568B on the jack. They are very similar, but 568B is most commonly used nowadays.
Once all the wires are laid down, your keystone jack should look like this. Notice how I left the pairs of wire twisted. I was able to do this because of the pointed ridges on the jack, making it much easier to set the wires in. Many other styles of jacks out there have a flat surface, requiring you to untwist all 4 pairs of wire down to the jacket. Also notice how the jacket of the cable is right up against the keystone jack. You don't want any more than 1/2" of the wires exposed.
Once you have the wires laced in correctly, set your keystone jack in a jack palm tool. If you don't have one of these available, you can punch the jack down on the ground or a desk, but I suggest putting a piece of cardboard down to prevent the jack from slipping out when you punch them down. I would strongly suggest AGAINST using your hand to punch down jacks without the use of this tool. The jack can slip out and the tool will cut right through your hand. Not a pretty site
Now, take your punch tool and find the side that says "CUT". You want to make sure the tool faces the correct way, or you'll cut the wrong side of the wires off. This is how your tool should look when punching down the jack. Notice the pointy tip on the left side of the 110s
A close up view of the 110 blade shows this better
Once the punch down tool is positioned correctly, push down firmly until you feel it pop. You should see the wire cut off. If it doesn't, you may need to do it once more. Here you can see I terminated the brown pair
Repeat with the other 3 pairs of wires and you have a completed keystone jack. It will look like this. Note how the jacket is very close to the jack. You want to make sure you keep it as close as possible.
Here is a picture or the WRONG way. The cable jacket is stripped too far back, exposing more than 1/2" of the wires
Lastly, press the clear dust cover on your jack and your DONE
Now let's watch it on video
New Tool Available!
Want to terminate Cat5e/Cat6 jacks quicker? Try the Kwik Tool and Kwik Jacks, available at Discount-Low-Voltage.com. Read the instructions for Terminating Cat5e/Cat6 Kwik Jacks here. The Kwik Tool removed the need for buying the punch down tool, 110 blade and palm tool. Safer, faster and less expensive. Call us for details on how to get a free Kwik Tool today! (888) 797-3697
We hope you enjoyed this article on how to punch down Cat5e/Cat6 keystone jacks. Feel free to leave comments or suggestions in the comment box below and thanks for visiting.